It is true that you can easily turn whatever is on your mind into an image or any piece of art using AI image generators. Read this post till the end to learn how you can easily do that.
Introduction
In recent years, there has been a surge in technological advancements and innovations. One of the most fascinating developments in the tech world is the use of Artificial Intelligence (AI) to generate images from textual descriptions.
This technology is revolutionizing various sectors, from entertainment and marketing to education and beyond. This blog post aims to guide you through the process of turning your words into stunning images using AI image generators. Whether you’re a tech enthusiast, a content creator, or just curious about AI, this guide is for you.
What is AI?
Artificial Intelligence (AI) refers to the simulation of human intelligence in machines that are designed to think and act like humans. These machines can perform tasks such as learning, problem-solving, and decision-making. AI systems use algorithms and vast amounts of data to recognize patterns, make predictions, and improve over time.
There are various types of AI, including machine learning, natural language processing, and computer vision, each playing a crucial role in different applications.
What are AI Image Generators?
AI image generators are a subset of AI technology that creates images based on textual descriptions or other inputs. That is, you just think and describe any image to them and it will be instantly generated.
These tools use advanced algorithms and neural networks to understand the input and produce visually appealing images. Some leading examples of AI image generators include:
- DALL-E 2 by OpenAI: Known for its ability to create high-quality images from detailed textual descriptions.
- MidJourney: A popular tool among artists and designers for generating creative and artistic images.
- Stable Diffusion
- : Focuses on creating realistic images and is widely used in various industries.
- DeepArt: Converts textual input into stylized artwork, often resembling famous artists’ styles.
Step-by-Step Procedure to Generate AI Pictures
Follow these simple steps to turn your words into images using AI image generators:
Step 1: Choose an AI Image Generator
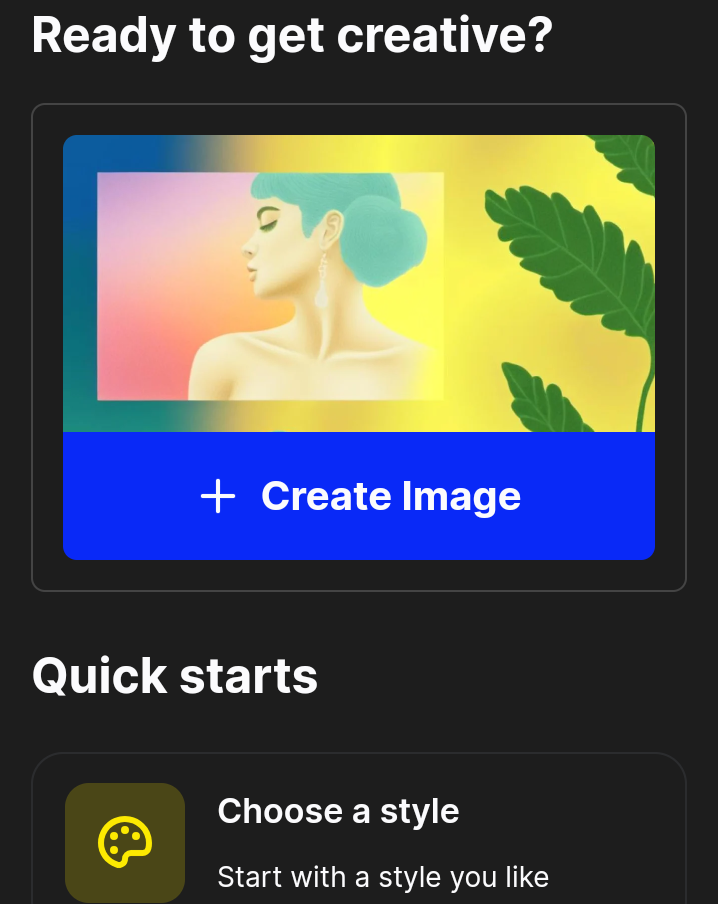
Select an AI image generator that suits your needs. For this guide, we’ll use Simple Diffusion by Openart as an example, as it is known for creating realistic images and is widely used in various industries. You can choose any tool that fits your requirements, and it is also very easy to use.
Step 2: Sign Up and Access the Tool
- Visit the Website: Go to the official website of Simple Diffusion AI image generator.
- Create an Account: Sign up for an account if required. This usually involves providing an email address and creating a password.
- Log In: Once registered, log in to your account to access the tool’s features.
Step 3: Prepare Your Textual Description
Think about the image you want to create and describe it in detail. The more specific you are, the better the AI can understand and generate the desired image. For example:
- “A serene beach at sunset with palm trees and a small boat on the water.”
- “A futuristic cityscape with flying cars and neon lights.”
Step 4: Input the Description
- Locate the Input Field: Find the text input field on the AI image generator’s interface.
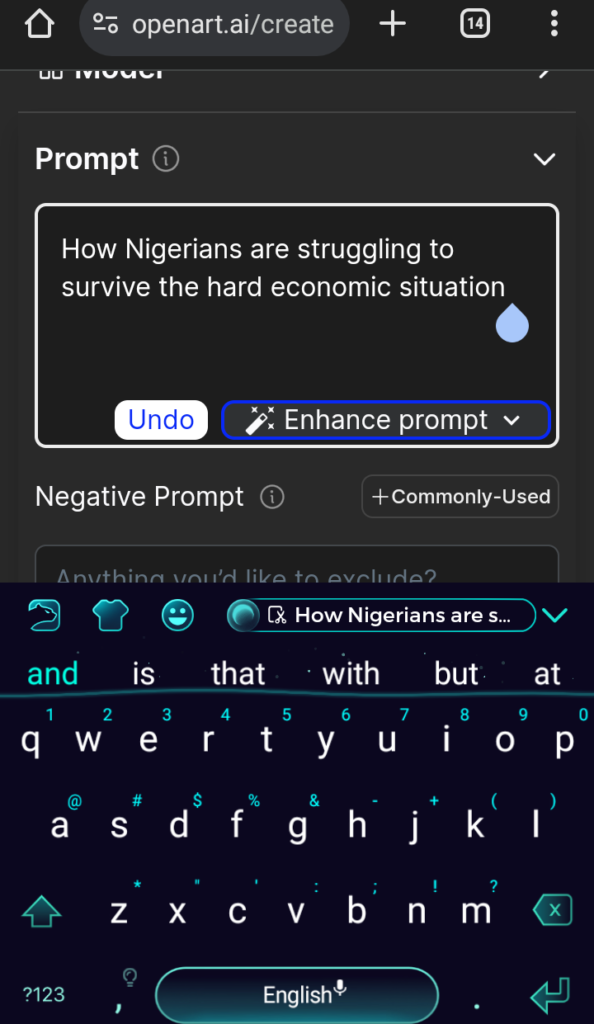
- Enter Your Description: Type your detailed description into the input field.
Example: Below is an example of text prompt used to generate one of the pictures used in this post:
Step 5: Customize Settings (Optional)
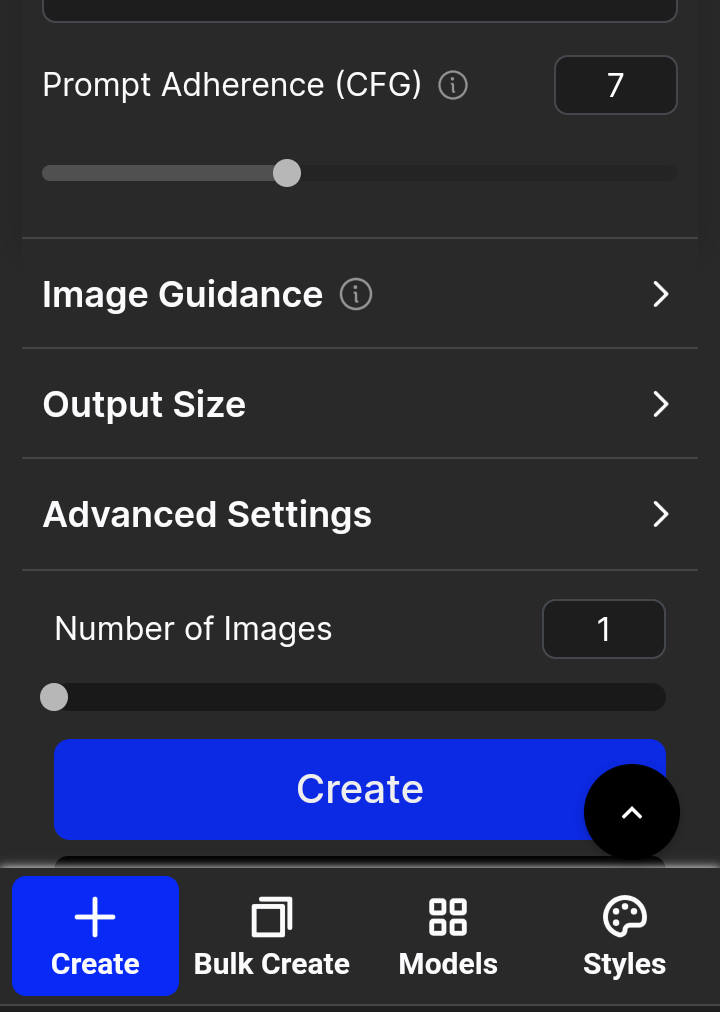
Some AI image generators offer customization options such as:
- Image Style: Choose between realistic, artistic, or abstract styles.
- Resolution: Select the desired resolution or quality of the image.
- Color Palette: Specify the color scheme you prefer.
Step 6: Generate the Image
- Click on Generate: Once you’ve entered your description and customized the settings (if applicable), click the ‘Generate’ button.
- Wait for Processing: The AI will process your input and generate the image. This might take a few seconds to a few minutes, depending on the complexity.
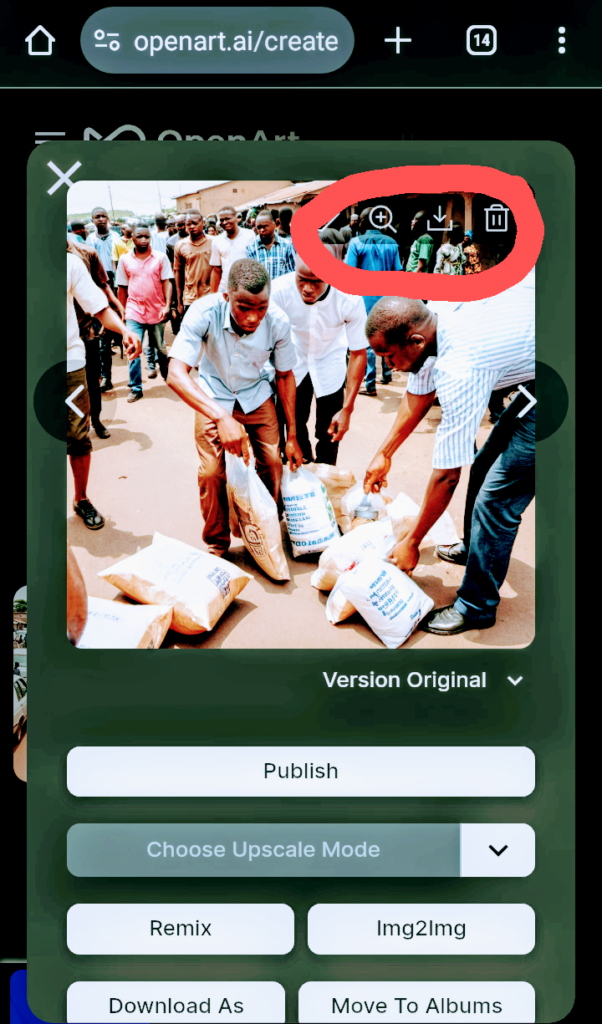
Below is the result of our imput made earlier which states “How Nigerians are struggling to survive the hard economic situation”
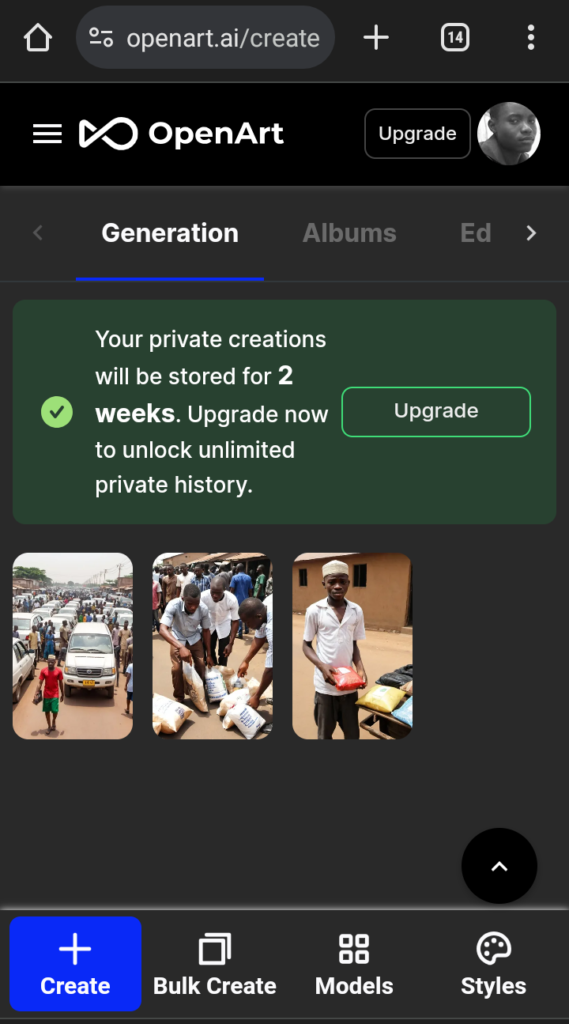
Usually, the result will have multiple pictures for you to choose the one that suit you the most
Step 7: Review and Download
- Preview the Image: Review the generated image to see if it meets your expectations.
- Make Adjustments: If needed, you can tweak the description or settings and regenerate the image.
- Download: Once satisfied, download the image to your device.
Step 8: Use and Share
Now that you have your AI-generated image, you can use it in various ways:
- Social Media: Share the image on your social media platforms.
- Content Creation: Incorporate the image into your blog posts, videos, or presentations.
- Personal Projects: Use the image for personal projects or as inspiration for further creative work
Conclusion
Turning words into images with AI is a powerful tool that opens up endless possibilities for creativity and innovation. Whether you’re in Nigeria or anywhere else in the world, this technology is accessible and easy to use.
By following the steps outlined in this guide, you can start creating stunning images from your textual descriptions in no time. Embrace the future of creativity with AI image generators and let your imagination run wild.